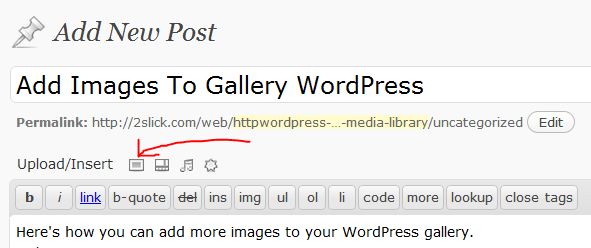
You can easily add an image border WordPress post or page. Follow the instructions below to insert an image with a border.
Image Border WordPress
- Log into your WordPress admin.
- Click on the 'Posts' tab or the 'Pages' tab.
- Click on the 'Add New' button.
- Make sure the 'Visual' tab is selected.

- Enter a title in the 'Title' field.
- Place the cursor in the page/post content area where you want the image to appear and click the 'Add an image' icon.

- Navigate to the directory on your computer with a sample image, select it, and press the 'Open' button.
- Finish inserting your image into your WordPress page or post.
- Next click on the image and click the 'Edit image' icon.

- Click on the 'Advanced Settings' tab at the top of the page.
- Enter the '1' in the 'Border' field and press the 'Update' button.
Note: Notice how your image has a border now. You can repeat step 9 and user a larger number instead of '1' in the 'Border' field to increase border width.


Before you post, please prove you are sentient.
Wait! The answer you gave wasn't the one we were looking for. Try another.
What is 2 * 2?