You can add weather to website by embedding a weather RSS feed onto your web page. You will need a Feedburner account.
How to add Weather to a website.
- First create a Feedburner account by going to feedburner.google.com.
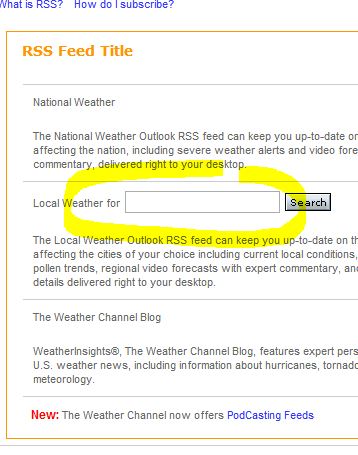
- Next, open a new browser tab and navigate to http://www.weather.com/weather/rss/subscription/.
Note: Weather.com offers rss feeds you can use for your websites for free. - Enter the zip code, in the field, that you want to get weather report data on and click the 'Search' button.

- Click the 'XML' button just to the right of the search field.

- You will see a page with a bunch of XML code. This is the feed code. Now copy the URL for this page at the top of your browser.

- Go to feedburner.google.com and log in.
- Paste the URL you copied in the 'Burn a feed right this instant' field and click the 'Next' button.
- Click the 'Next' button again.
- Click the 'Next' button yet again.
- Click the 'Next' button again...
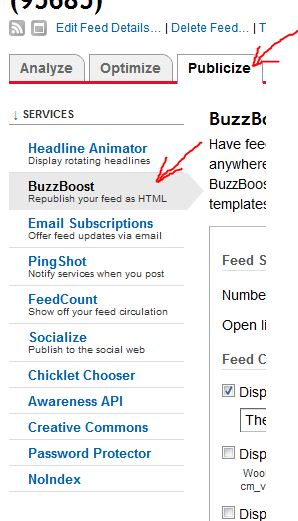
- Click the 'Publicize' tab then click 'BuzzBoost'.

- For 'Number of items to display' select 'All'.
- Click the 'Activate' button at the bottom of the window.
- Copy (Ctrl+c) the code snippet in the window.
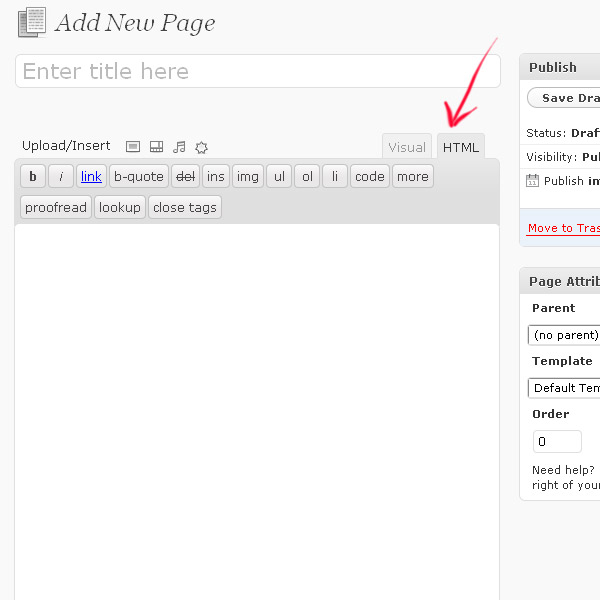
Now you can paste this code snippet into any HTML document, WordPress page, WordPress post or WordPress widget and the Weather data will display. If you're pasting this code snippet into a WordPress page or post, make sure you're in HTML tab mode.

Add Weather to Blogger
This is a continuation tutorial from the one above. Follow these steps if you want to add weather RSS to your Blogger website.
- If you want to use this weather report data on your Blogger website, select 'Blogger' and press the 'Go' button.

- You may have to log into your blogger account first. You will be prompted to select which blogger blog you want to create this new widget for.
- Type in 'Weather' or something intuitive for the 'Title:' field.
- Click the 'Add Widget' button.
The weather report is not automatically a widget on your Blogger website.


Before you post, please prove you are sentient.
Wait! The answer you gave wasn't the one we were looking for. Try another.
What is 6 multiplied by 8?