In this tutorial I will show you how to create categories and add them to your posts.
Create categories
- Log into your WordPress website
- Click on the 'Posts' tab.
- Click on 'Categories'.
- Scroll down and input the name of the category in the 'Name' field.
- Click the 'Add New Category' button.
Assign categories to a post
- Click on the 'Posts' tab.
- Select the post you want to edit.
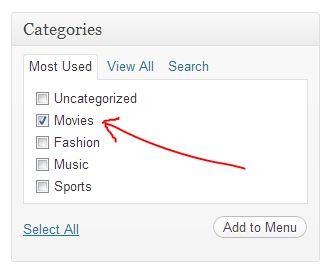
- Assign the categories to the post by checking the box next to the categories in the 'Categories' section.
- Click the 'Publish' or 'Submit' button to save the changes.
Add a category to your nav menu
You can add a category to your nav menu so that whenever a visitor clicks on the category link, they will see a list of all the posts for that particular category.
- Click on the 'Appearance' tab.
- Click the 'Menus' option.
- Check the box next to a category in the 'Categories' section.

- Click the 'Add to Menu' button. Notice how the category you selected became a menu item in the menu section on the right side of your screen.
- Drag the menu item around with your mouse so that it appears in the right order within your menu and click the 'Save Menu' button.


Before you post, please prove you are sentient.
Wait! The answer you gave wasn't the one we were looking for. Try another.
What is 3 times 4?