In this tutorial I will show you how to insert your image into a WordPress page or post.
Insert image in WordPress
- Enter the text content for your post.
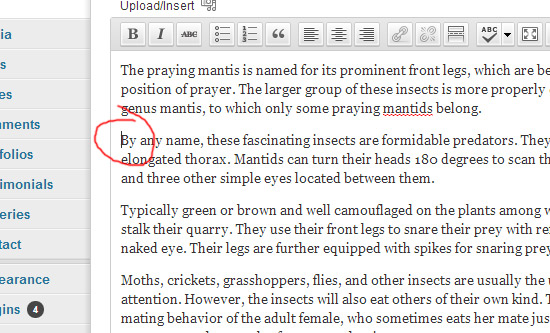
- Make sure you have the 'Visual' tab selected above your content area.

- Place the cursor within your text content field where you want your image to appear.

- Click the 'Add Media' icon
 above your content field.
 - Click the 'Select Files' button, navigated to the image on your computer, select the image and click the 'open' button.
- Click the 'Insert Into Post' button.
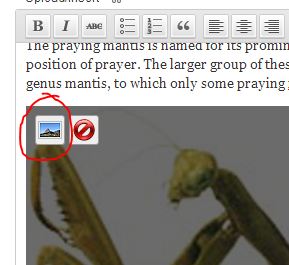
- Your image will probably be to large, but you can resize, by clicking on the image, then selecting the 'Edit Image' icon.

- Select the ...% amounts under 'Size' to shrink the image by that percent and click the 'Update' button. This step can be repeated to shrink or enlarge an image even more.
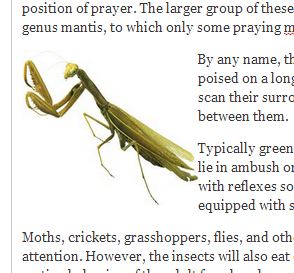
- If you want the text to flow up against the right or left side of the image, you will have to set the alignment. You can do this by clicking the 'Edit Image' icon again and checking the radio buttons next to 'Alignment'.
- Click the 'Update' button.

Note: If you don't like how close the text is to the image, you may want to create padding or a margin around the image.


