In this tutorial, I'm going to show you how to create a contact form for your website using Google Docs. I'm also going to show you how to install the contact form into your HTML or WordPress website.
How to create a contact form using Google Docs
- First we're going to create a contact form using Google Docs, so log into your Google Docs account: http://google.com/docs.
- Click the 'CREATE' button.
- Select 'Form'.
- Enter in 'Contact Form' in the field Titled 'Untitled form'.
- In the 'Question Title' field type 'What is your name?'.
- In the 'Help Test' field type 'Enter your first and last name."
- Set the 'Question Type' to 'Text'.
- Check the box next to 'Make this a required question.'
- Click the 'Done' button.
- Mouse hover over the 'Sample Question 2' field and click the 'pencil' edit icon button.
- In the 'Question Title' field enter 'What is your email address'.
- In the 'Help Text' field enter 'Enter you email address'.
- Set the 'Question type' to 'Text'.
- Check the box next to 'Make this a required question'.
- Click the 'Done' button.
- Click the 'Add item' button at the top of the screen.
- Select 'Paragraph text'.
- In the 'Question Title' field enter 'What is your message?'.
- In the 'Help Text' field enter 'Enter your message here'.
- Set the 'Questions type' to 'Paragraph text'.
- Check the box next to 'Make this a required question'.
- Click the 'Done' button.
You can add more fields to your contact form if you like. I'm just going to keep it simple for this tutorial. - Click 'More actions' at the top of the screen.
- Click 'Edit confirmation'.
- Replace the default text in the field with 'Thank you for contacting us, we will respond shortly.'.
- Click the 'Save' button.
- Click the 'See responses' button.
- Click 'Spreadsheet'. When someone sends their information, it will be saved to this spreadsheet so keep that in mind.
- Click on 'Tools'.
- Click on 'Notification rules'.
- Check the box 'A user submits a form'.
- Check the box 'Email - right away'. Now, every time someone submits data in the contact form, you will be notified via email.
- Click the 'Save' button.
- Click the 'Done' button.
- Click on 'Form'.
- Click on 'Edit form'.
- In the popup window click the 'More actions' button.
- Click 'Embed'.
- Copy the code snippet and close the popup windows.
Installing your Google Docs contact form into your WordPress website contact page.
- Log into your WordPress admin.
- Click on 'Pages'.
- Click on your 'Contact' page.
- Click the on the 'HTML' tab.
- Place the cursor where you want the contact form to appear.
- Paste the code snippet you copied into the page.
- Click the 'Publish' button.
The Google Docs form is very compact so you can also install the contact form into your WordPress widget.
Installing Google Docs form into your WordPress widget
- Log into your WordPress admin.
- Click on 'Appearance'.
- Click on 'widgets'.
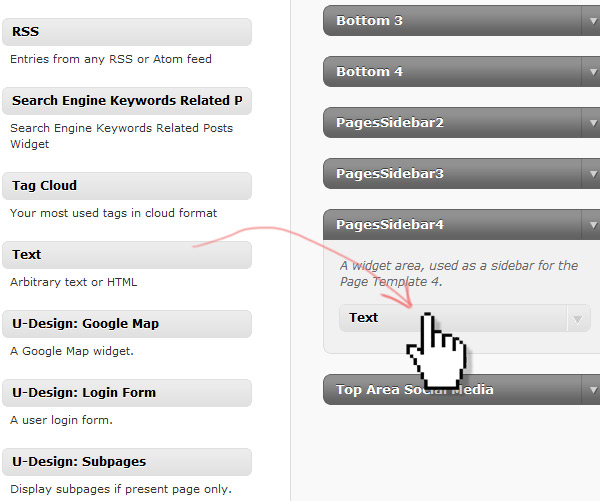
- Drag a text widget into your sidebar area:

- Open the text widget and pate (Ctrl-v) the Google Docs form code snippet into the widget field.
- Click the 'Save' button.
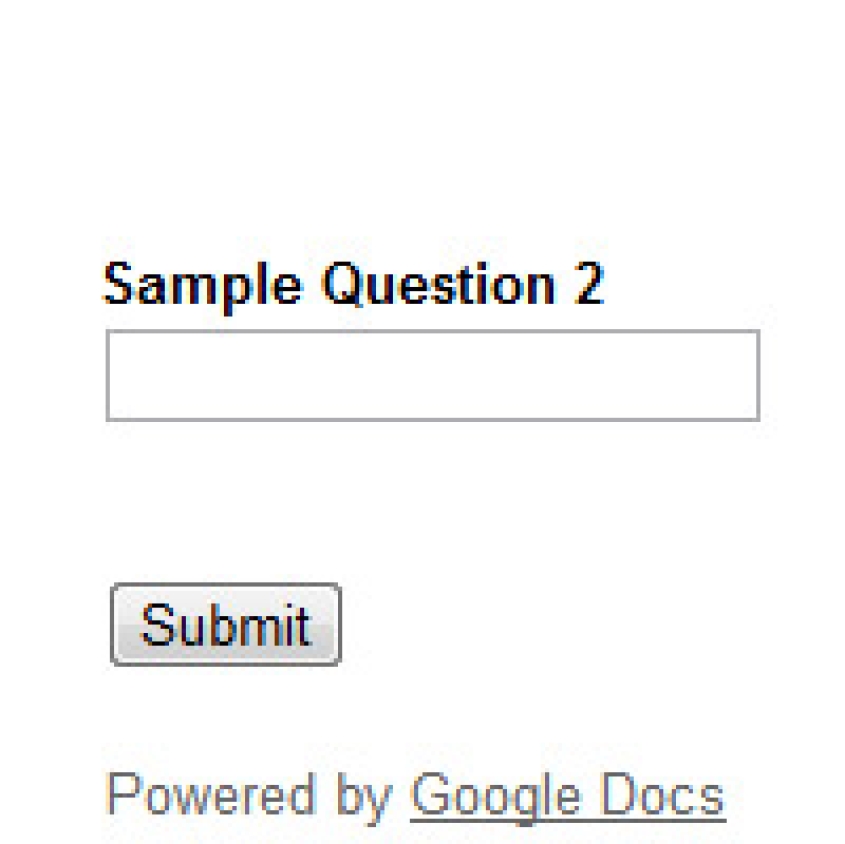
Now you should see a contact form in the sidebar area of your WordPress website.
Installing your Google Docs contact form into your HMTL website
- Paste the code snippet into you HTML document.
- The form is in an iframe and comes with formatting elements like width, height, frameborder, marginheight and marginwidth already placed in the code so you shouldn't have any problem formatting it to match your site.


