In this tutorial I will show you how to make a tree diagram using Google Docs. If you need to create a very large tree diagram or you want to generate a tree diagram from data or a script, I recommend reading this tutorial How to create a tree diagram generated from data.
How to create a tree diagram using Google Docs
- Log into your Google Docs account and click on the 'CREATE' button.
- Select Drawing.
- Click on the 'Shape' icon
 .
. - Scroll over the 'Shapes' option.
- Select a shape that you want to use.
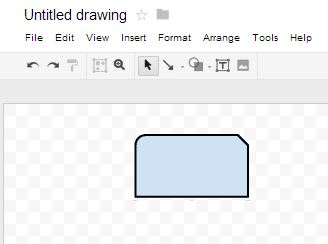
- Drag the mouse onto the canvas area to create your shape.
- After creating a shape, the 'Select' tool
 is automatically selected.
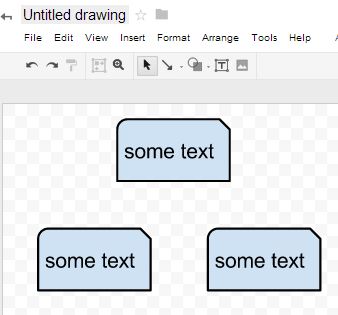
 - Double click on the shape, type in some text and click the 'Enter' key.
- Click on the 'Select' tool
 .
. - Press and hold down the right mouse button while dragging over the labeled box you made and copy it (Ctrl+c).
- Paste two more copies of the labeled box under your first box.
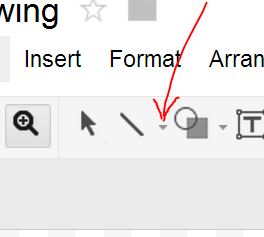
- Click the very small arrow on the 'Line' tool and select the arrow option.
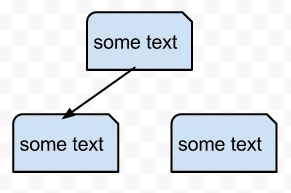
- Now when you hover over one of your labeled boxes, purple dots will appear. Drag from one labeled box to another, while connected a purple dot from one box to a purple dot on another box. You should have created an arrow like this.
- Repeat the process to create an arrow pointing to the other box.
- If you need to edit the text label for a box, just double click on the text.
You should have basic understanding enough to create a tree diagram as large as you want using Google Docs.


